
Selection
Contents
In VoceVista Video, the concept of a selection extends to a time range of the recording, and to elements that can be selected individually, such as piano keys and note sliders:
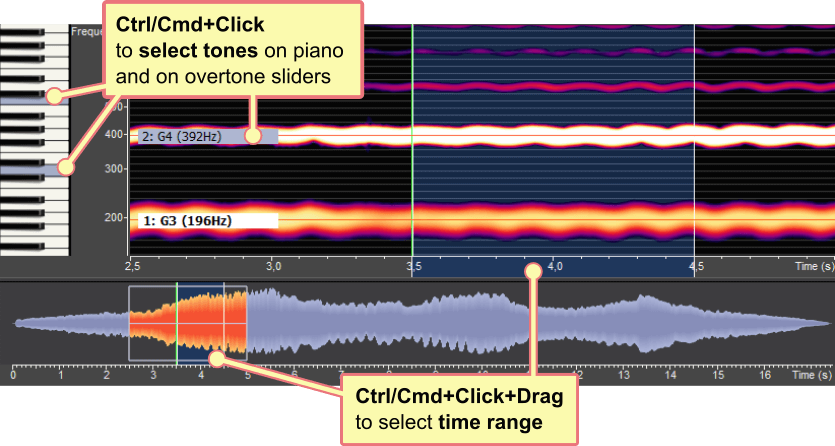
To change the selection with the mouse, you need to hold the key (on Windows), or the key (on Mac).
On the Selection Settings page, you can set the Mouse Click Action to change the selection with the simple click instead of requiring the Ctrl/Cmd key. This is the behavior used by Overtone Analyzer 4.
Parts of the recording can be selected on the Timeline, the Waveform View, and on the Spectrogram. Simply click anywhere on these views, hold the left mouse button, and move the mouse to the end of the area that you want to select. The selected area will be marked with a different background color. You can click and drag the borders of an existing selection to make it longer or shorter.
Once you have selected a time range, you can press the button to play it repeatedly. You can choose if playback should be repeated automatically by clicking on → .
You can also click on → to set the visible time range to match the current selection.
Conversely, you can click on → to select the time range that is currently visible.
Use the command → to enter precise numbers for the time range to be selected.
Further, you can apply edit commands such as Cut, Copy, Paste, etc. to the current selection.
If you click anywhere on the Timeline or the Spectrogram, the playback cursor will jump to the position of the click, and the current selection will be reset. Sometimes you might want to keep the selection a bit longer, but still move the cursor within the selection to hear specific parts. To prevent the selection from being lost when you move the cursor, click on → . Now the selection can still be resized by moving its borders, but clicking somewhere on the Timeline or Analyzer View won’t destroy the existing selection. This is particularly useful when comparing files, and when working with Frequency Filters.
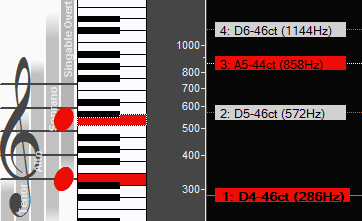
You can select and deselect tones on the piano keyboard and on the Overtone Sliders by clicking on them while holding the key (on Windows), or the key (on Mac). To play those tones, click on → or press the key.
To make all tones unselected click on → .