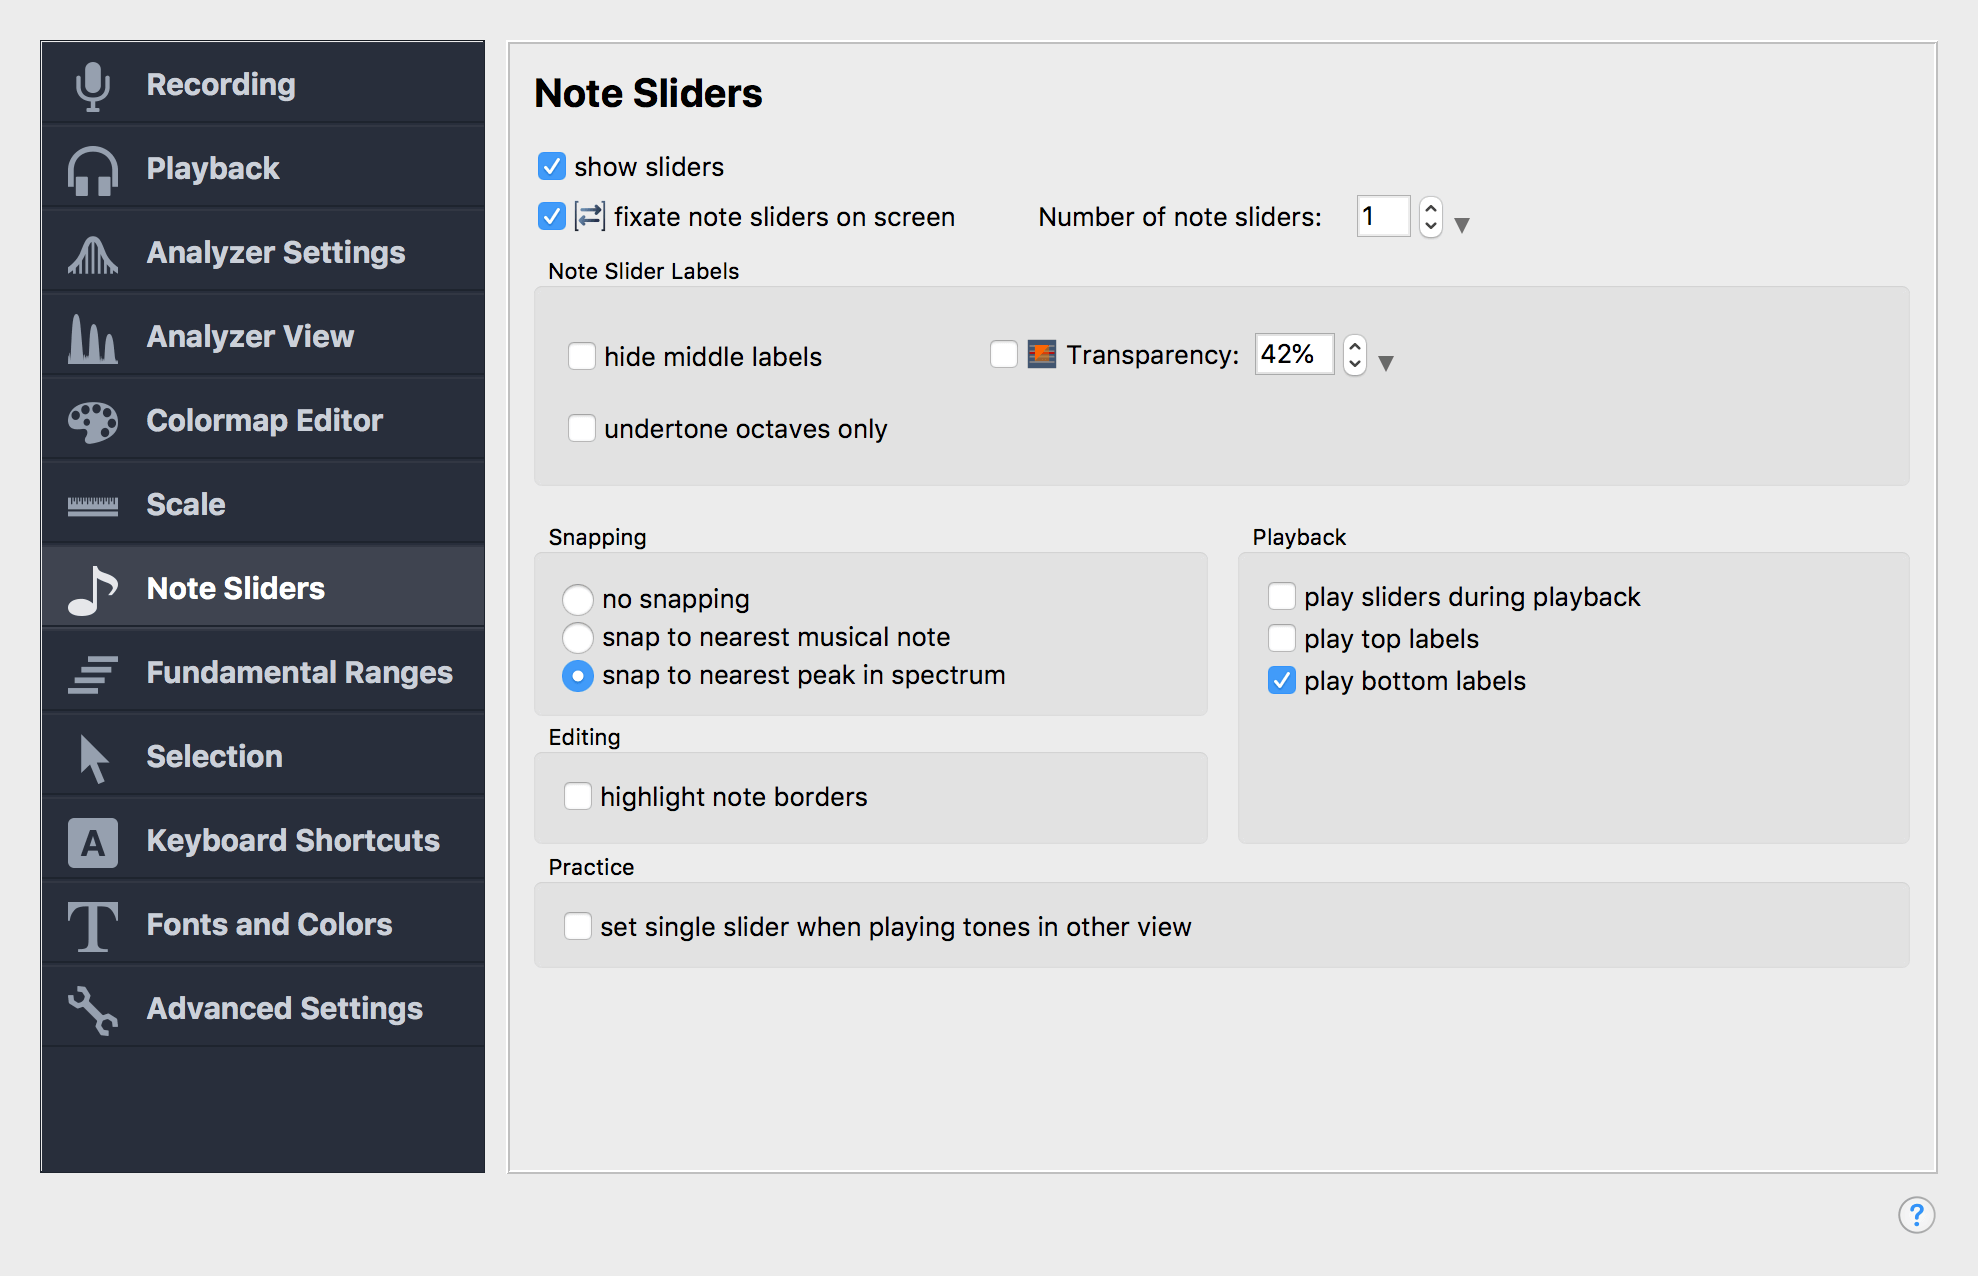
Note Slider Settings
On this settings page you can adjust the appearance and behavior of the
Overtone Sliders (which are also called Note Sliders). Most of those
settings can also be found on the toolbar.
If this setting is active, the note sliders are fixated on the screen and
will stay in the same position regardless of how the time range of the
Analyzer View is changed. In VoceVista Video Pro Free Edition the
sliders are always fixated on the screen.
When the sliders are not fixated on the screen, each slider belongs
to a specific time range of the recording, like the notes in a piece of music. This allows to represent an entire recording as
a melody comprised of musical notes, which can also be exported as a MIDI
file.
This is the number of distinct sliders shown. Each slider can have a
separate fundamental frequency. The number of sliders can only be changed through this control
if the sliders are fixated on the screen. Otherwise, sliders can be added
and deleted through the commands
→
and
→ .
Show the name of a slider’s note, such as “A3+12ct”. The second part of the name shows the difference in cent between the exact pitch of the slider, and the named note on the piano.
If this option is activated, the note name and frequency will only be
shown for the fundamental, and for the highest displayed overtone, and
the lowest displayed undertone of each slider.
This option makes the sliders transparent so that the spectrogram
underneath can still be seen. This can make it easier to position sliders
accurately. The amount of transparency requires some experimentation for
each situation. It can be adjusted here, but the transparency can also be
adjusted through a slider on the status bar.
This option will hide all undertones that are not an octave of the fundamental. This can be useful when constructing scales, where tones are used across many octaves.
When moving a slider along the frequency axis while this option is
enabled, the slider will snap to the nearest piano note or spectral peak.
This behavior can be reversed when the ALT key is pressed while moving a
slider (for more keyboard modifiers, including the possibility to snap to other sliders, refer to Table 3.4, “Overtone Slider Mouse Commands”).
- no snapping
The sliders can be moved freely.
- snap to nearest musical note
The slider will snap to the frequency that represents the nearest note on the piano.
- snap to nearest peak in spectrum
The slider will snap
to the nearest maximum in the spectrum. This allows to accurately
measure the loudest frequencies in a recording.

