Configuration
First let’s configure the program to a predefined state, so that you can follow this
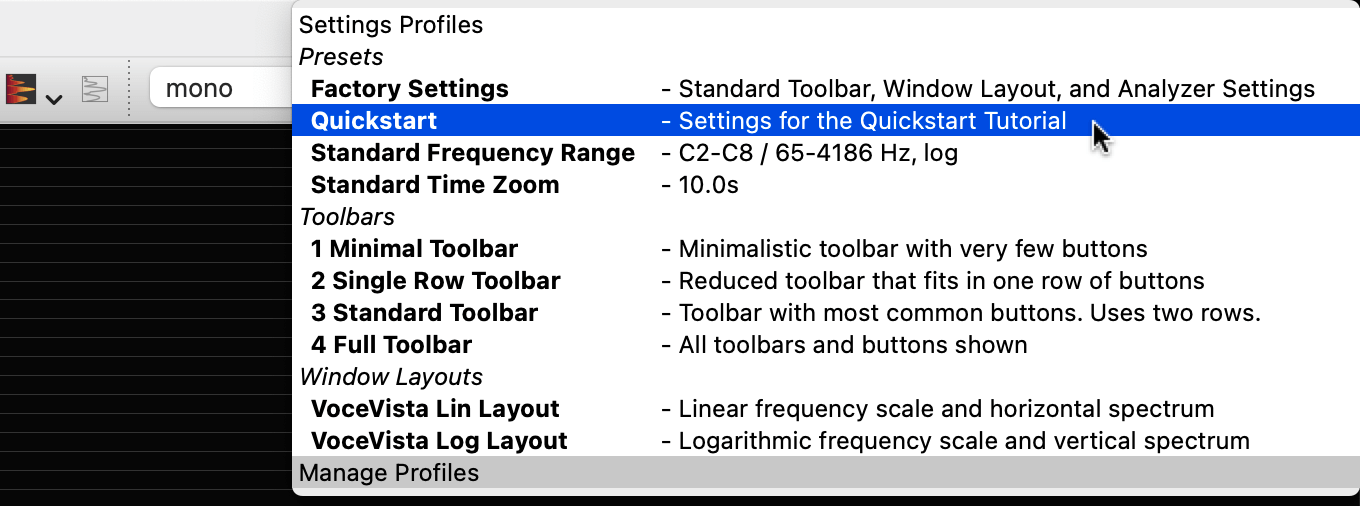
tutorial and see the same things as shown here. Click on the profile list on the toolbar
(the box that says “Select Profile”) and select the Quickstart profile:
A profile is a set of saved settings. Selecting a profile is a shortcut for applying all
the settings stored in that profile. There is no difference between applying a profile, and
going through the program options and manually selecting the corresponding settings. Now the
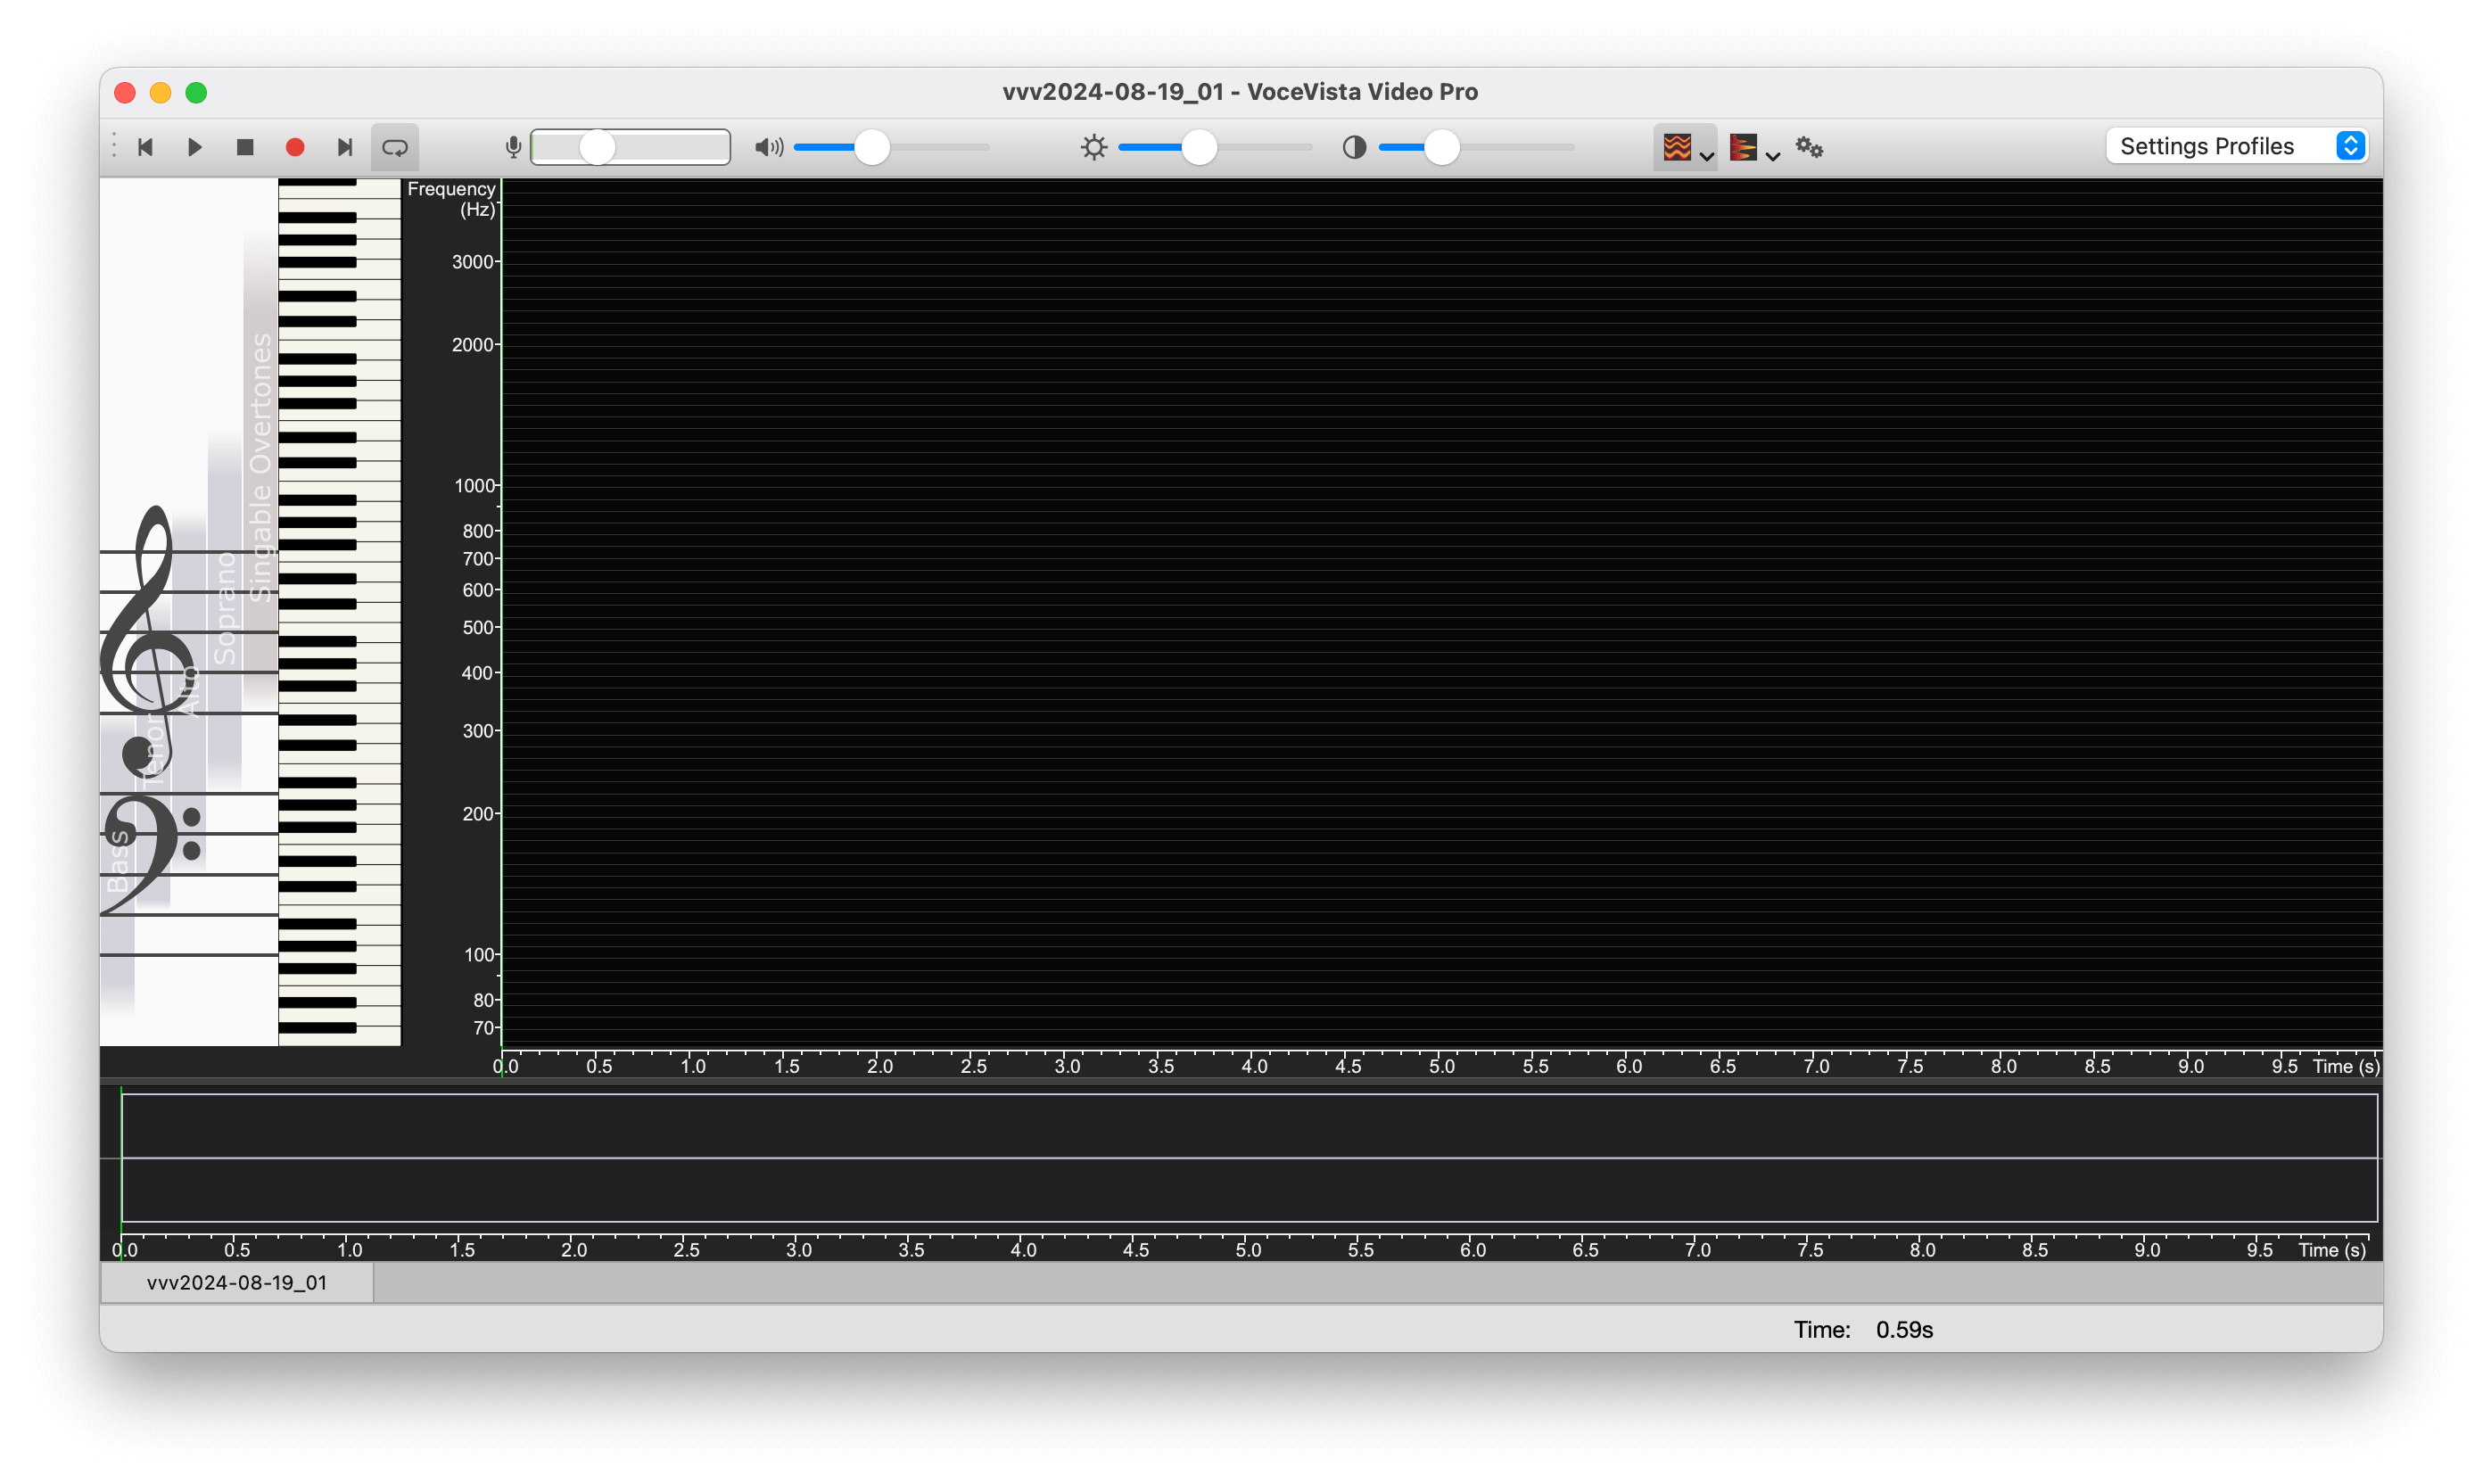
program should look like this:
In this screenshot you can see the empty Timeline on the bottom, the Staff View and
Piano on the left, the empty Analyzer View in the main section, and the Toolbar on the
top.
Here is a closer look at the Toolbar. This is a simplified toolbar profile with only the
most important elements. As you get more proficient with VoceVista Video Pro, you can switch the
toolbar by clicking on the profile selector and choosing another toolbar profile.
Now we will check that you are recording from the correct microphone. Point at the Input Volume control on the toolbar and wait until a
tooltip appears. This will show the active input device from which audio will be
recorded:
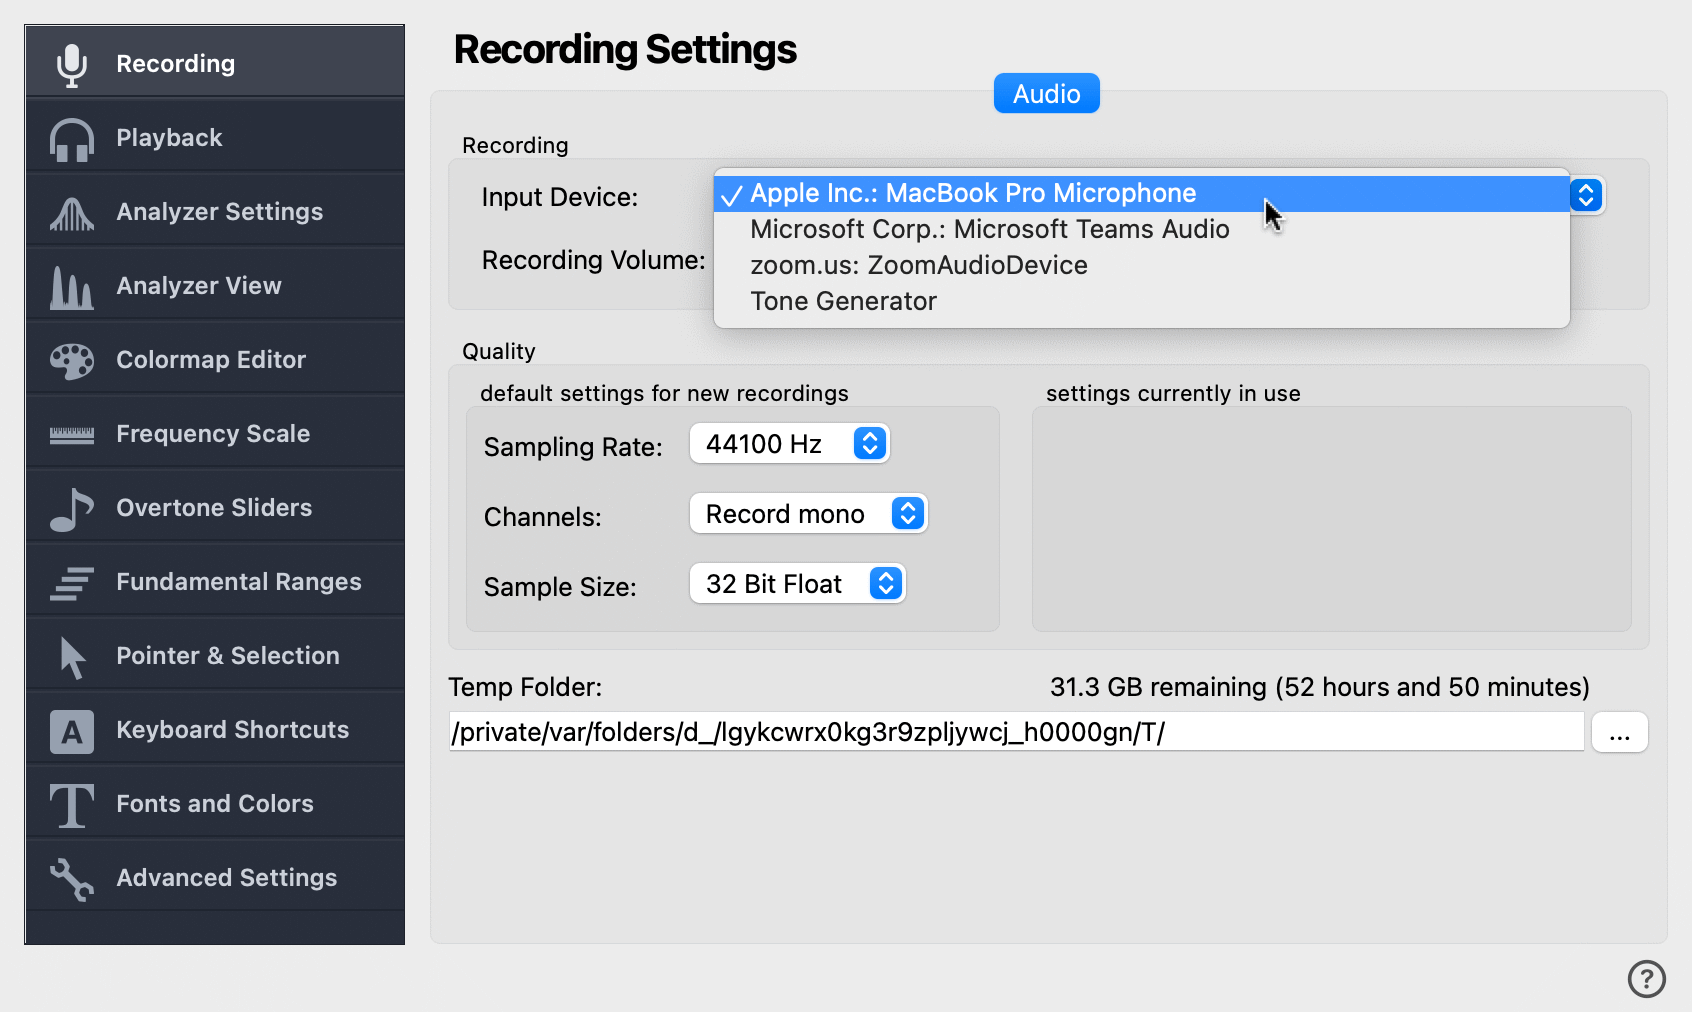
To see a list of all available audio input devices, open the Recording Settings. To do so, click on the
Settings button on the toolbar ![]() , and then select Recording
, and then select Recording
on the left. Now you can click on the list of input devices and select the one you want to
record from:
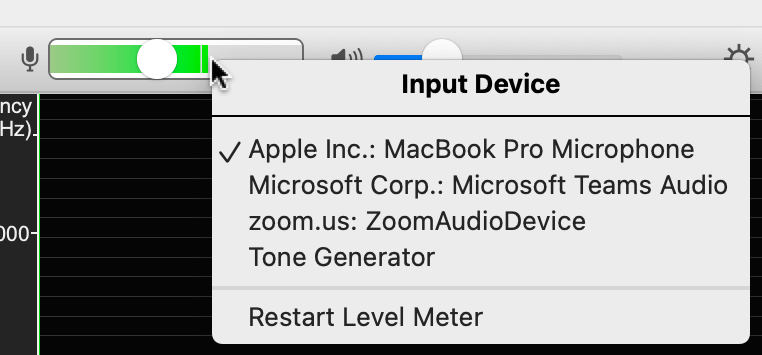
Another way to quickly select the active audio device for recording is to right-click on the Input Volume control on the toolbar and make
sure the correct microphone is selected:


