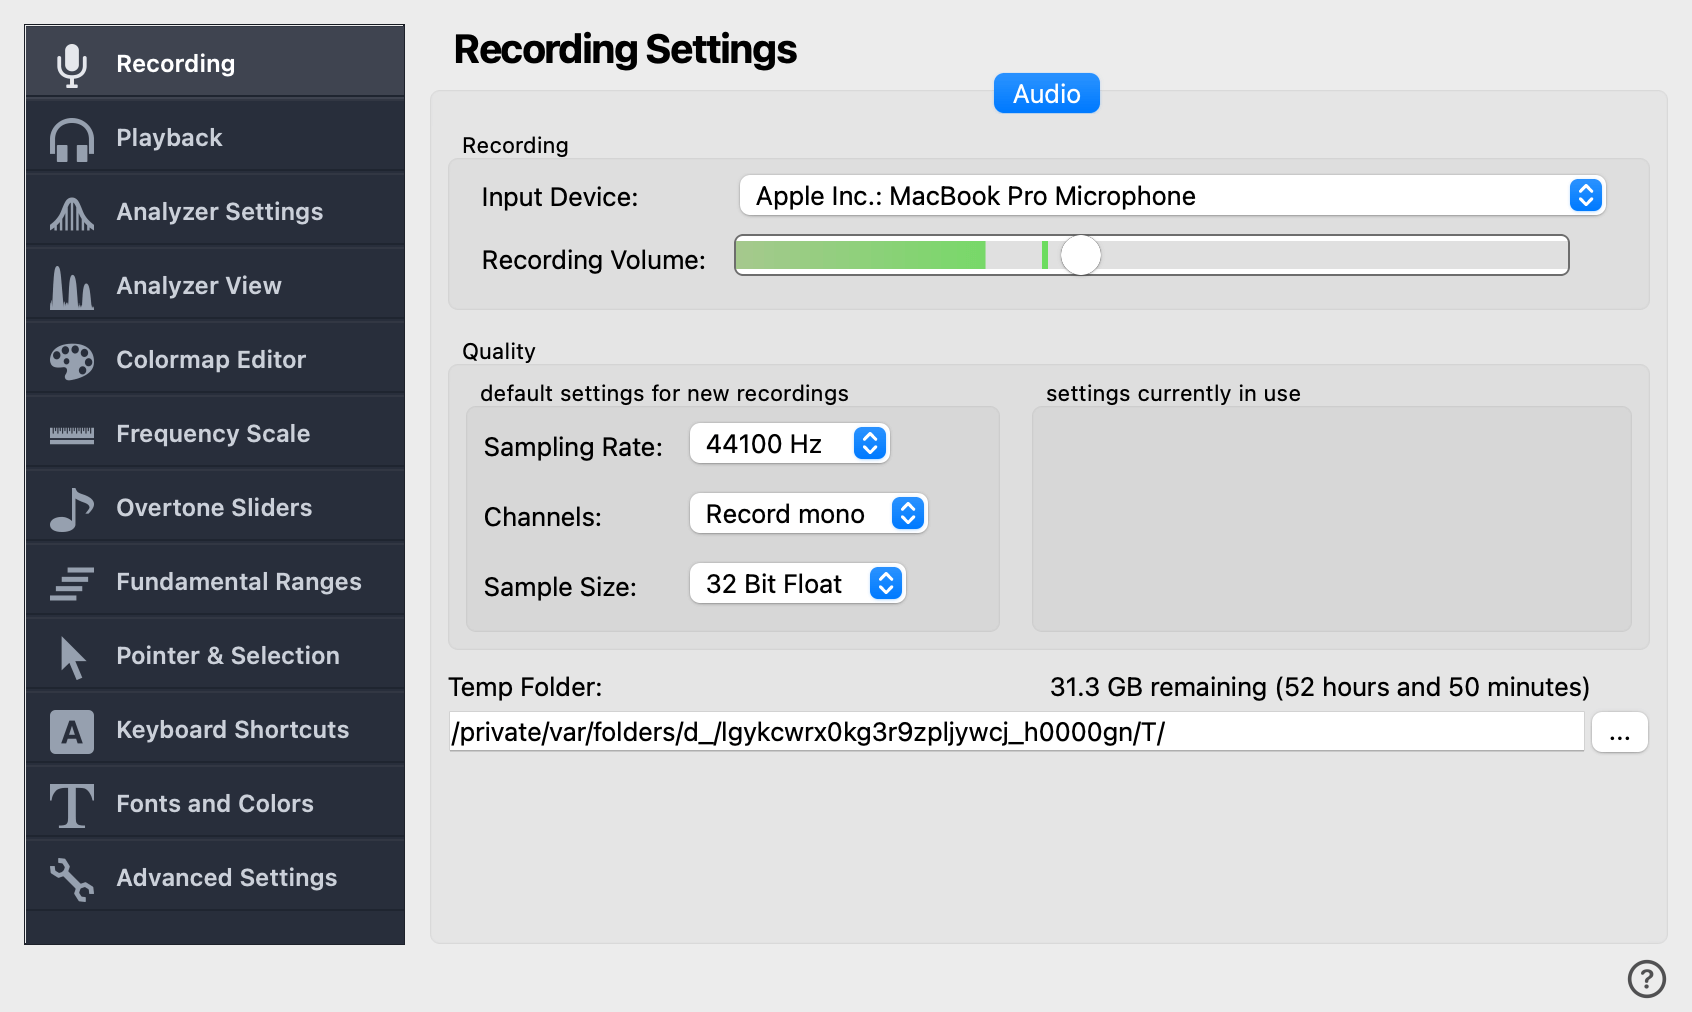
Recording Settings
On the Recording Settings page you can select the sound card from which to record, and you can adjust its volume. You can also adjust the format of the recorded data, and you can select which stereo channel is displayed from the active recording.
This is the input line from which to record audio data when you press the
record button. If you have more than one sound card installed, for
example because you are using an external USB microphone, make sure that
the correct one is selected here.
This determines the sensitivity of your microphone or input line. It is very important to set this so that the
full dynamic range is used without clipping to get a good recording. A
clipped signal will cause artifacts in the spectrogram.
Recording source and volume can also be set through the input level meter on the toolbar. You can set the recording volume by moving the slider, and you can select the input source by right-clicking on the input level meter:
These settings can only be changed on new files, before you have made any recording. The format of existing
recordings cannot be changed. If you want to change these settings and
they are disabled, click on
→
first.
The Sampling Rate determines the number of measurements (samples) per second recorded from the input source. For most purposes, a sampling rate of 44100 Hz is appropriate. When using the EGG, a sampling rate of 48000 Hz might give the best results.
The channel format allows you to select between stereo and mono recordings. On the left side, under default settings for new recordings, the channel format is set for new recordings. Changing this setting will not affect any files that are already open.
On the right side, under settings currently in use, you can change how the currently active file is displayed. This can also be changed on the toolbar.
Here are the various channel display options:
- Record mono
Record a mono file with a single audio track.
- Record stereo
Record a stereo file with two audio channels, a left and a right channel.
- Record left/right stereo channel
This is useful when a single mono microphone is connected to the left or right channel of an audio interface. In that case, when recording “mono”, the audio interface would mix the channel of the microphone with the empty channel that has nothing connected. By recording only the left or only the right channel, this mixing is avoided.
The recording will be saved as a mono file with a single channel.
- Record Audio left; EGG right / EGG left; Audio right
Record a stereo file with two channels, where one channel is interpreted and displayed as the audio channel recorded from the microphone, and the other channel is interpreted and displayed as the Electroglottograph (EGG).
This option is only available in VoceVista Video Pro.
- Display mono
When a mono recording is active, the only available option is to display its single channel.
- Display mixed stereo
When a stereo recording is active, this setting will display both channels mixed together. So the spectrogram will show audio content from both channels.
- Display left / right stereo channel
With these settings, only the left or the right channel of a stereo recording will be displayed.
- Display Audio left, EGG right / EGG left, Audio right
Interpret one channel as audio data, and one channel as EGG.
The sample size influences the quality but also the storage requirements
of the recorded sound. The default setting of 16 bit per sample
corresponds to the quality of standard audio CDs and should be sufficient
for most purposes. A higher bit depth of 24 or 32 bit can be useful when
the dynamic range of the recorded signal is very high, and when it
contains very quiet passages that should later be amplified.


