
Saving Images and Screenshots
VoceVista Video Pro can take screenshots from any part of the user
interface and save them as image files.
Click on → to open the Export Screenshot Dialog:
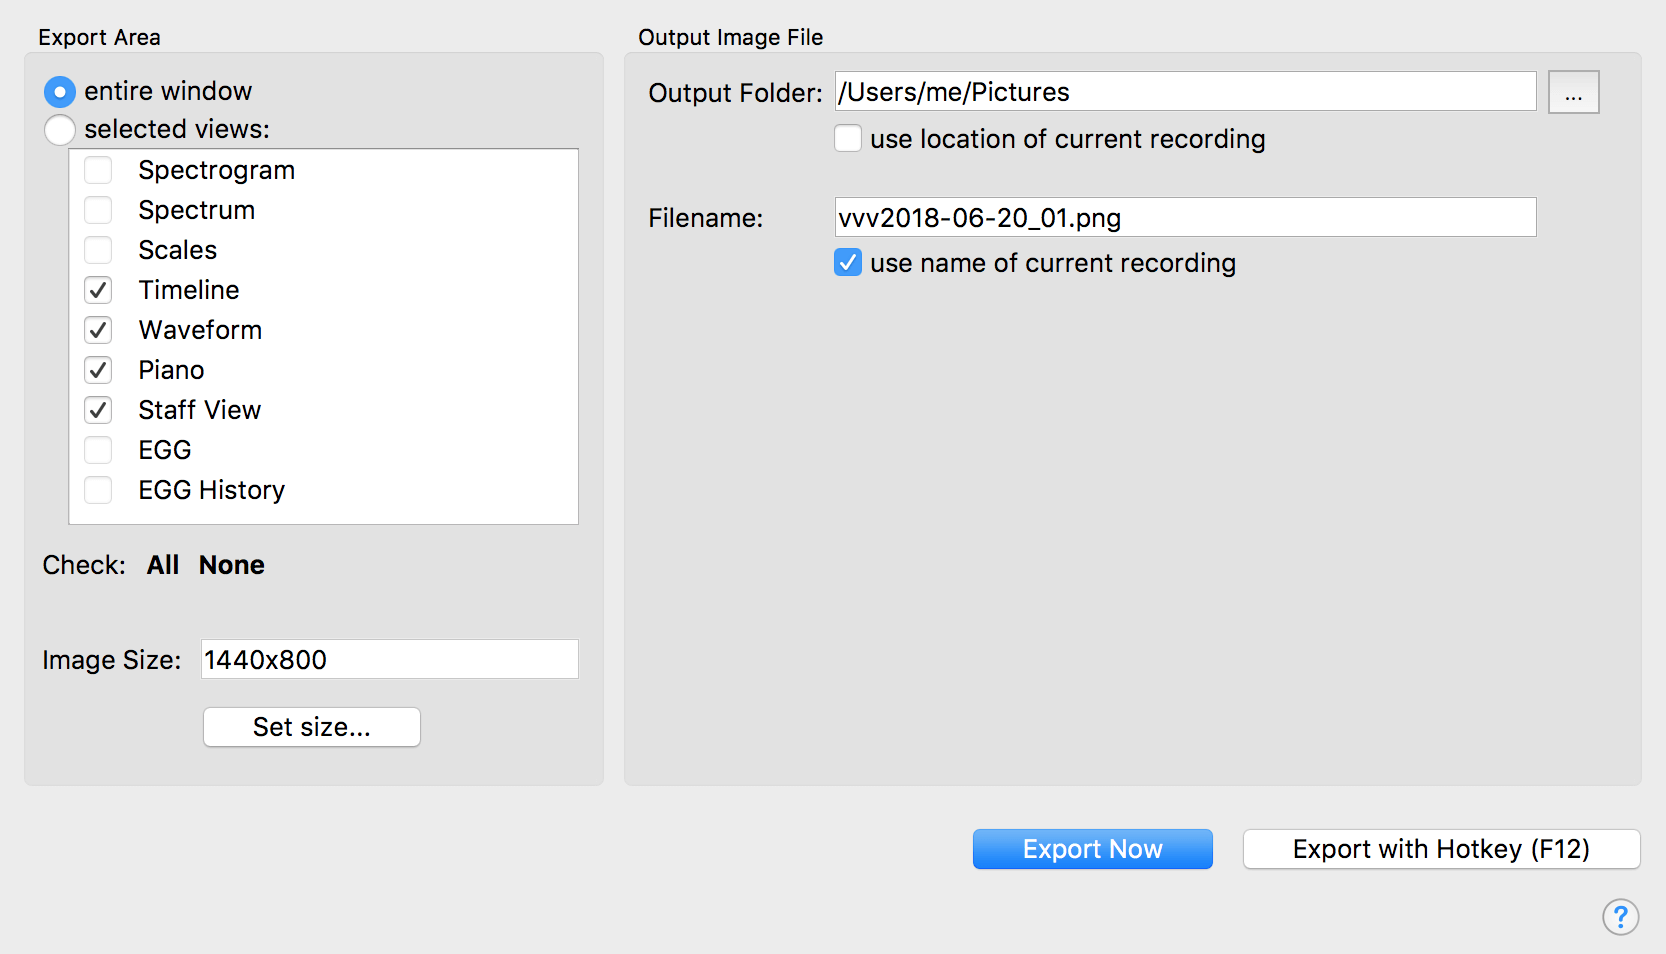
This window has two main sections. On the left side in the Export Area
section you specify what you want to save, and on the right side in the
Output Images section you specify where you want to save it, and under which name.
In this section you control if the entire VoceVista Video Pro window is
saved, or if only parts of the interface should be saved. If you choose
to save only selected views, check those views that should be included.
VoceVista Video Pro will export the smallest rectangle that includes all
selected views, so in same cases that views may be implicitly included.
You will see a yellow frame marking the selected area in the Overtone
Analyzer window.
This field shows the size in pixels of the saved screenshot. You can change the size by resizing the exported windows, by selecting different views to be exported, or by clicking on the button.
This button allows to set the size of the exported area by adjusting the size of the main window. First select the views to be exported, and then click on the button to enter the desired target size. VoceVista Video Pro will attempt to resize the main window such that the exported views fit your requested size.
This section determines the location and name of the
exported image file.
Select a folder where the image will be saved. If you check the box use location of current recording, the image will be saved in the same location in which the current audio file is stored.
Enter the name of the current screenshot. If you check the box use name of current recording, the name of the image will be derived from the name of the current audio file. If you save multiple screenshots, a number will be appended to the filename so that each file has a unique name. VoceVista Video Pro will not overwrite existing files.
If this is checked, VoceVista Video Pro will attempt to compose a new email in your email program with the saved screenshot as an attachment. You still have to specify the recipient and the other content of the email before you can decide to send it. Sending images as email only works if you use local email client (such as Microsoft Outlook, or Mozilla Thunderbird). It won’t work with web-based email clients that you use through your browser (such as Gmail).
You can avoid having to explicitly check the send image as email box by using the keyboard shortcut (which by default is ).
This button will store the current image export settings and close the
window. Now whenever you press the hotkey, a new screenshot
will be saved into the output folder. By default, the hotkey is , but
you can change that in the keyboard settings page. You can check the
include mouse cursor option to include the mouse cursor in screenshots
that are saved with the hotkey.